
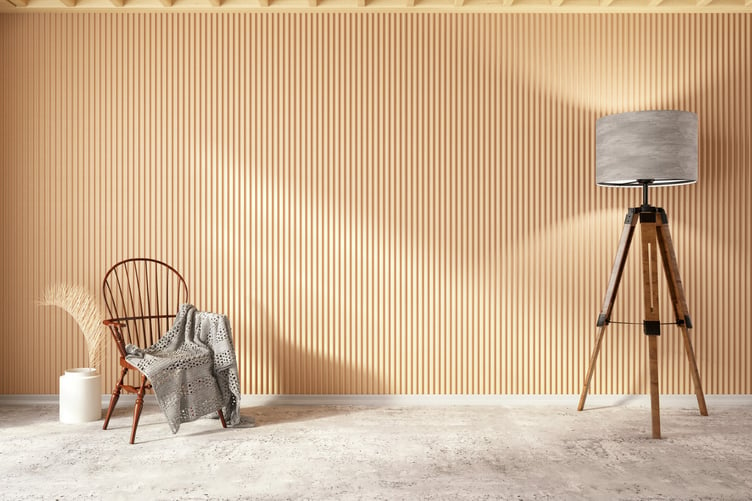
Slim timber slats against acoustic felt look entirely different from heavy decorative boarding around a room. The gaps reveal the backing and give the wall depth without a raised frame around every panel. Modern wood panelling from WoodUpp pairs narrow strips with a sound-absorbing layer rather than treating timber as decoration alone. If you plan a living room wall, compare the slats with your furniture and the room hard surfaces. A restrained finish and a clear stopping point matter more than covering every spare patch of plaster.
Slim slats need space around them
A wall behind a sofa gives vertical slats a defined place in the room. Repeated lines draw the eye upwards, while the sofa interrupts the pattern at seated height. Leave the adjoining wall plain. Carrying the same strips around a corner shifts the balance, especially where a doorway already breaks up the surface. Before committing, mark the proposed edges on the wall with pencil. Step back and assess the position from the entrance rather than standing right beside the sofa.
The finish should relate to an existing feature you intend to keep, such as a timber floor or a dining table. Real wood veneer shows natural variation, so do not expect every strip to share identical grain. Oak or walnut against matt black fittings creates a clean contrast. Adding several unrelated timber finishes disrupts the interior and makes the wall harder to settle into the room. Place a sample beside the largest existing wooden surface, then examine that pairing in daylight and under evening lamps.
The felt does a different job from the timber
Sound reaches the porous backing through the spaces between the slats. The dense felt absorbs a share of that acoustic energy instead of sending harsh reflections straight back into the room. Painted plasterboard and large windows bounce sound across open space, so a dining area with bare walls presents a different acoustic problem from a carpeted sitting room.
Absorption differs fundamentally from soundproofing. Slatted panels control internal flutter echoes and reverberation inside a single space. They do not replace the dense masonry or acoustic barriers required to prevent airborne noise from travelling between neighbouring properties.
The complete installation dictates overall acoustic performance, including slat depth and the wall structure behind the felt backing. Narrow spacing on its own cannot predict how the finished wall will behave. Request acoustic test data that mirrors your intended mounting method instead of assuming that a studio photograph proves anything about noise reduction. If conversation echoes uncomfortably across a dinner table, address that specific reverberation before you select a panel format.
Edges and fittings decide how finished the wall looks
A contemporary slatted wall requires a clean boundary at the skirting board and ceiling line. Examine how the outer panel edge meets the adjoining drywall before you fix the first section. An exposed cut through the core material shows an entirely different texture from the surface veneer.




Check sockets early. Hold a sample against the wall beside each faceplate and establish how the added depth will affect access to the switch or plug.
A television wall needs thorough planning before the timber goes up. Decide where cables will run and keep that route separate from the decorative pattern. Do not assume that the slats can carry a screen bracket. Fixings must reach a solid supporting structure behind the acoustic felt. Mark the bracket position directly on the bare wall, then verify that panel joints will not leave an awkward narrow strip beside the screen. Maintain clear access to cable connections rather than closing them behind a permanent finish.
Slatted constructions often use MDF beneath real wood veneer or a decorative surface. Inspect the core material beneath that visible face as closely as the grain itself. This inspection matters when you plan cuts around sockets or a doorway, where the inner core will show. Ask the supplier for a sample with an exposed cut edge, then place it directly against your skirting to check the junction before ordering panels for the wall.
Comments
We've recently changed our login process. If you have an account for commenting, you will need to re-register on the login window.
This article has no comments yet. Be the first to leave a comment.